





3 Clever Kitchen Gadgets Worth Checking Out
These handy little gadgets make cooking easier — and they're actually pretty cool.


A classic grilled cheese sandwich is the epitome of comfort food. With its golden-brown, crispy exterior and gooey, melted cheese, this dish is quick to make and satisfying to eat. Whether you’re enjoying it on a rainy day or as a late-night snack, this recipe delivers that crave-worthy goodness every time.
Why You’ll Love This Recipe
This grilled cheese sandwich is not just a meal; it’s a nostalgic experience. You’ll love it for its simplicity, rich flavor, and versatility.
- Quick to prepare: Ready in just 10 minutes!
- Simple ingredients: Uses pantry staples.
- Customizable: Add your favorite extras!
- Perfect for all ages: A crowd-pleaser for kids and adults alike.
Ingredients
- 4 slices of bread (white, whole wheat, or sourdough)
- 4 slices of cheddar cheese (or your favorite cheese)
- 2 tablespoons of unsalted butter
- Optional: a pinch of garlic powder or herbs for extra flavor
How to Make Classic Grilled Cheese Sandwich
- Heat a skillet over medium heat. Make sure it’s nice and hot for that perfect crunch.
- Spread 1 tablespoon of butter on one side of each slice of bread. This will be the side that touches the skillet.
- Place two slices of bread, buttered side down, onto the skillet.
- Layer two slices of cheddar cheese on top of the bread in the skillet.
- Top with the remaining slices of bread, buttered side up.
- Cook for about 3-4 minutes, or until the bottom is golden brown. Flip carefully with a spatula.
- Cook the other side for an additional 3-4 minutes until it’s golden and the cheese is melted.
- If desired, sprinkle a pinch of garlic powder or herbs on the cheese before closing the sandwich for extra flavor.
- Once cooked, remove from the skillet and let it sit for a minute before slicing in half.
- Serve hot and enjoy your classic grilled cheese sandwich!
Tips for the Best Results
Love Trying New Recipes? Check These Out
Save your favorites, discover something different, or make meal planning a whole lot easier.


Use a mix of cheeses for a more complex flavor. Gruyère, mozzarella, or pepper jack can add a delightful twist. Be patient while cooking; low and slow is key to melting the cheese without burning the bread. Make sure your skillet is evenly heated to avoid hot spots.
Easy Variations
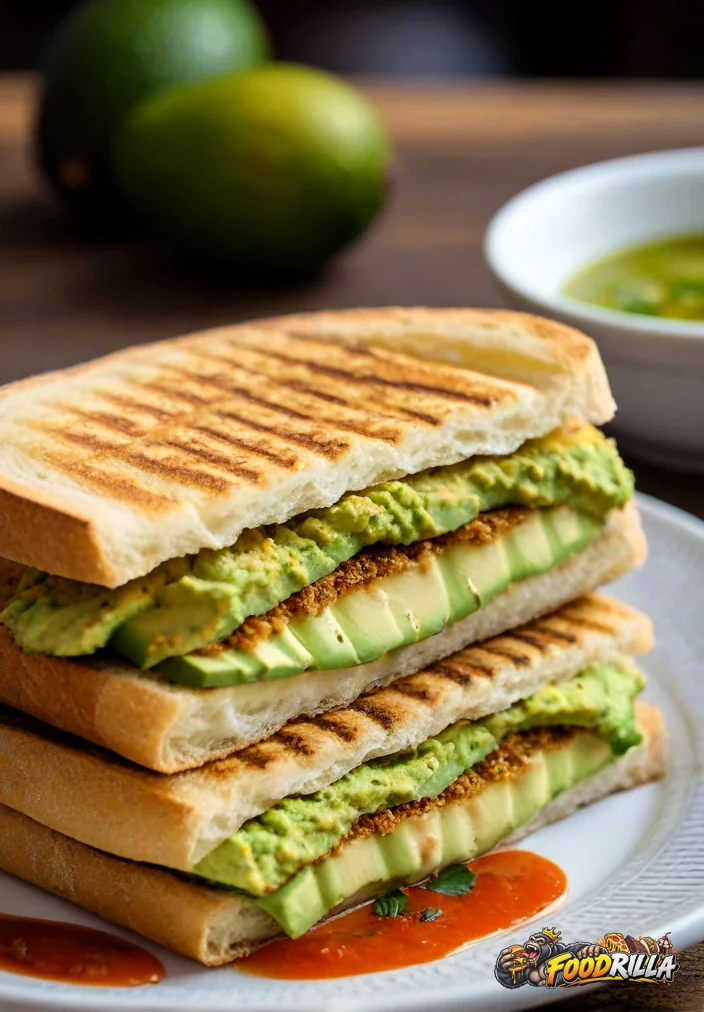
- Veggie Delight: Add slices of tomato, avocado, or spinach inside the sandwich.
- Meaty Option: Add cooked bacon, ham, or turkey for a heartier meal.
- Spicy Kick: Include jalapeños or a drizzle of hot sauce.
- Sweet Surprise: Spread a thin layer of apple or pear slices for a sweet contrast.
What to Serve With It
Pair your classic grilled cheese with:
- A bowl of tomato soup for dipping.
- Pickles or potato chips for crunch.
- A fresh side salad to balance the richness.
- Fruit salad for a refreshing contrast.
Storage and Reheating
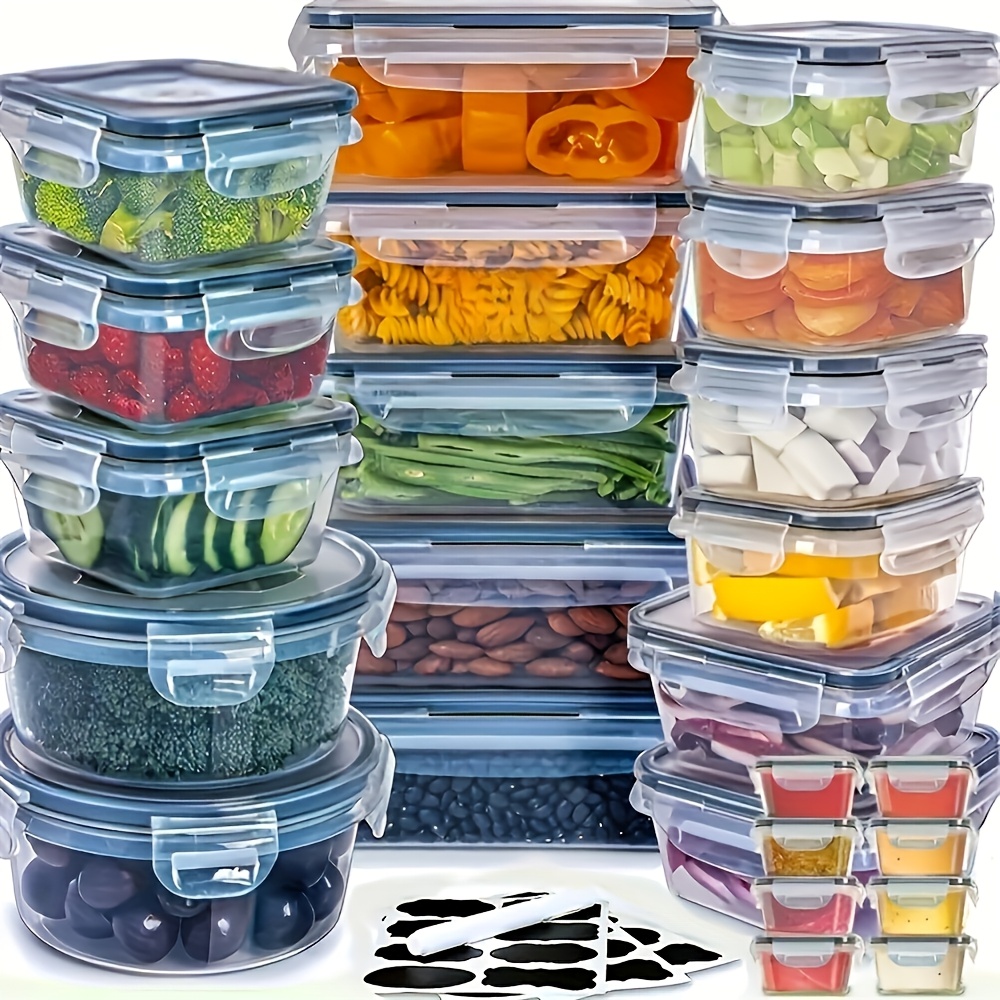
Grilled cheese sandwiches are best enjoyed fresh, but if you have leftovers, store them in an airtight container in the refrigerator for up to 2 days. To reheat, place them in a skillet over low heat until warmed through, or use an oven set to 350°F for about 10 minutes.
Recipe Card
Prep Time: 5 minutes
Cook Time: 5 minutes
Total Time: 10 minutes
Yield/Servings: 2 sandwiches
Ingredients:
- 4 slices of bread
- 4 slices of cheddar cheese
- 2 tablespoons of unsalted butter
- Optional: garlic powder or herbs
Instructions:
- Heat a skillet over medium heat.
- Spread 1 tablespoon of butter on one side of each slice of bread.
- Place two slices of bread, buttered side down, onto the skillet.
- Layer two slices of cheddar cheese on top of the bread.
- Top with the remaining slices of bread, buttered side up.
- Cook for 3-4 minutes until golden brown, then flip.
- Cook the other side for an additional 3-4 minutes until the cheese is melted.
- Remove from skillet, let sit for a minute, then slice and serve.
Notes: Customize with your favorite ingredients for an even more satisfying sandwich!