

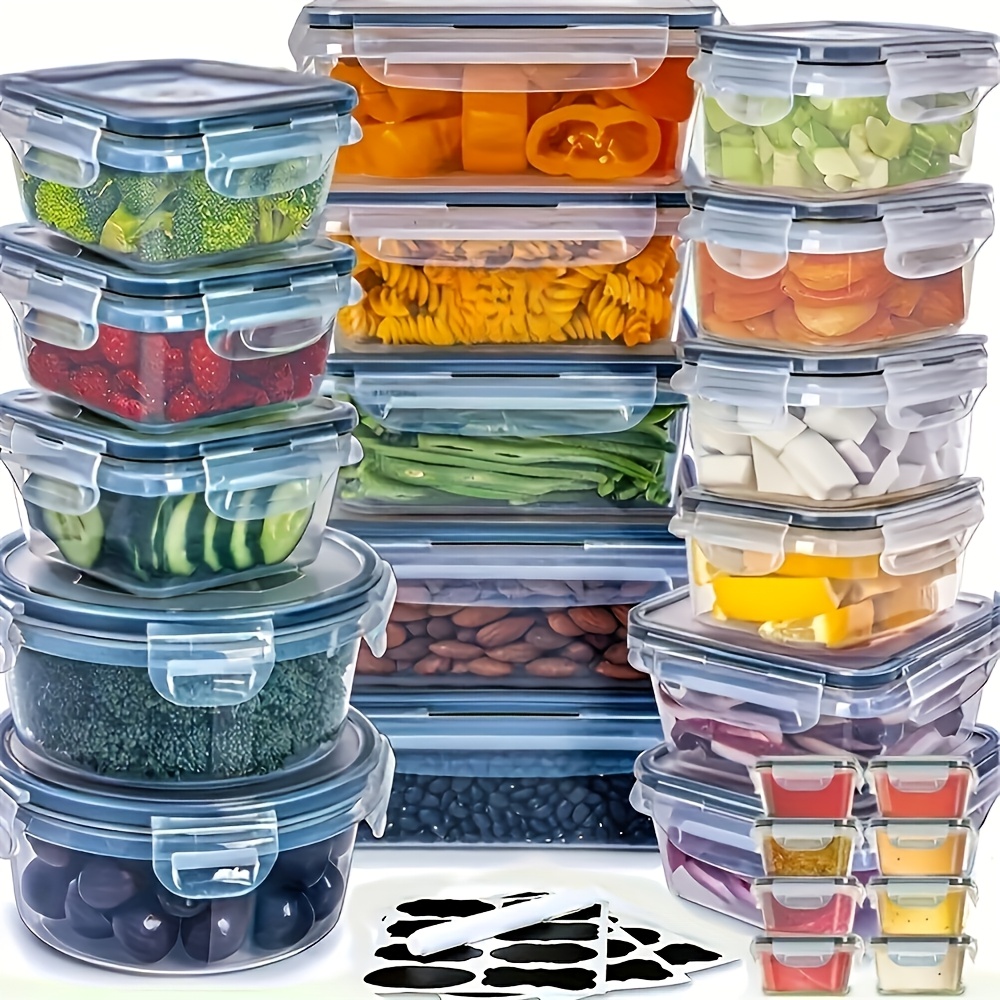

3 Clever Kitchen Gadgets Worth Checking Out
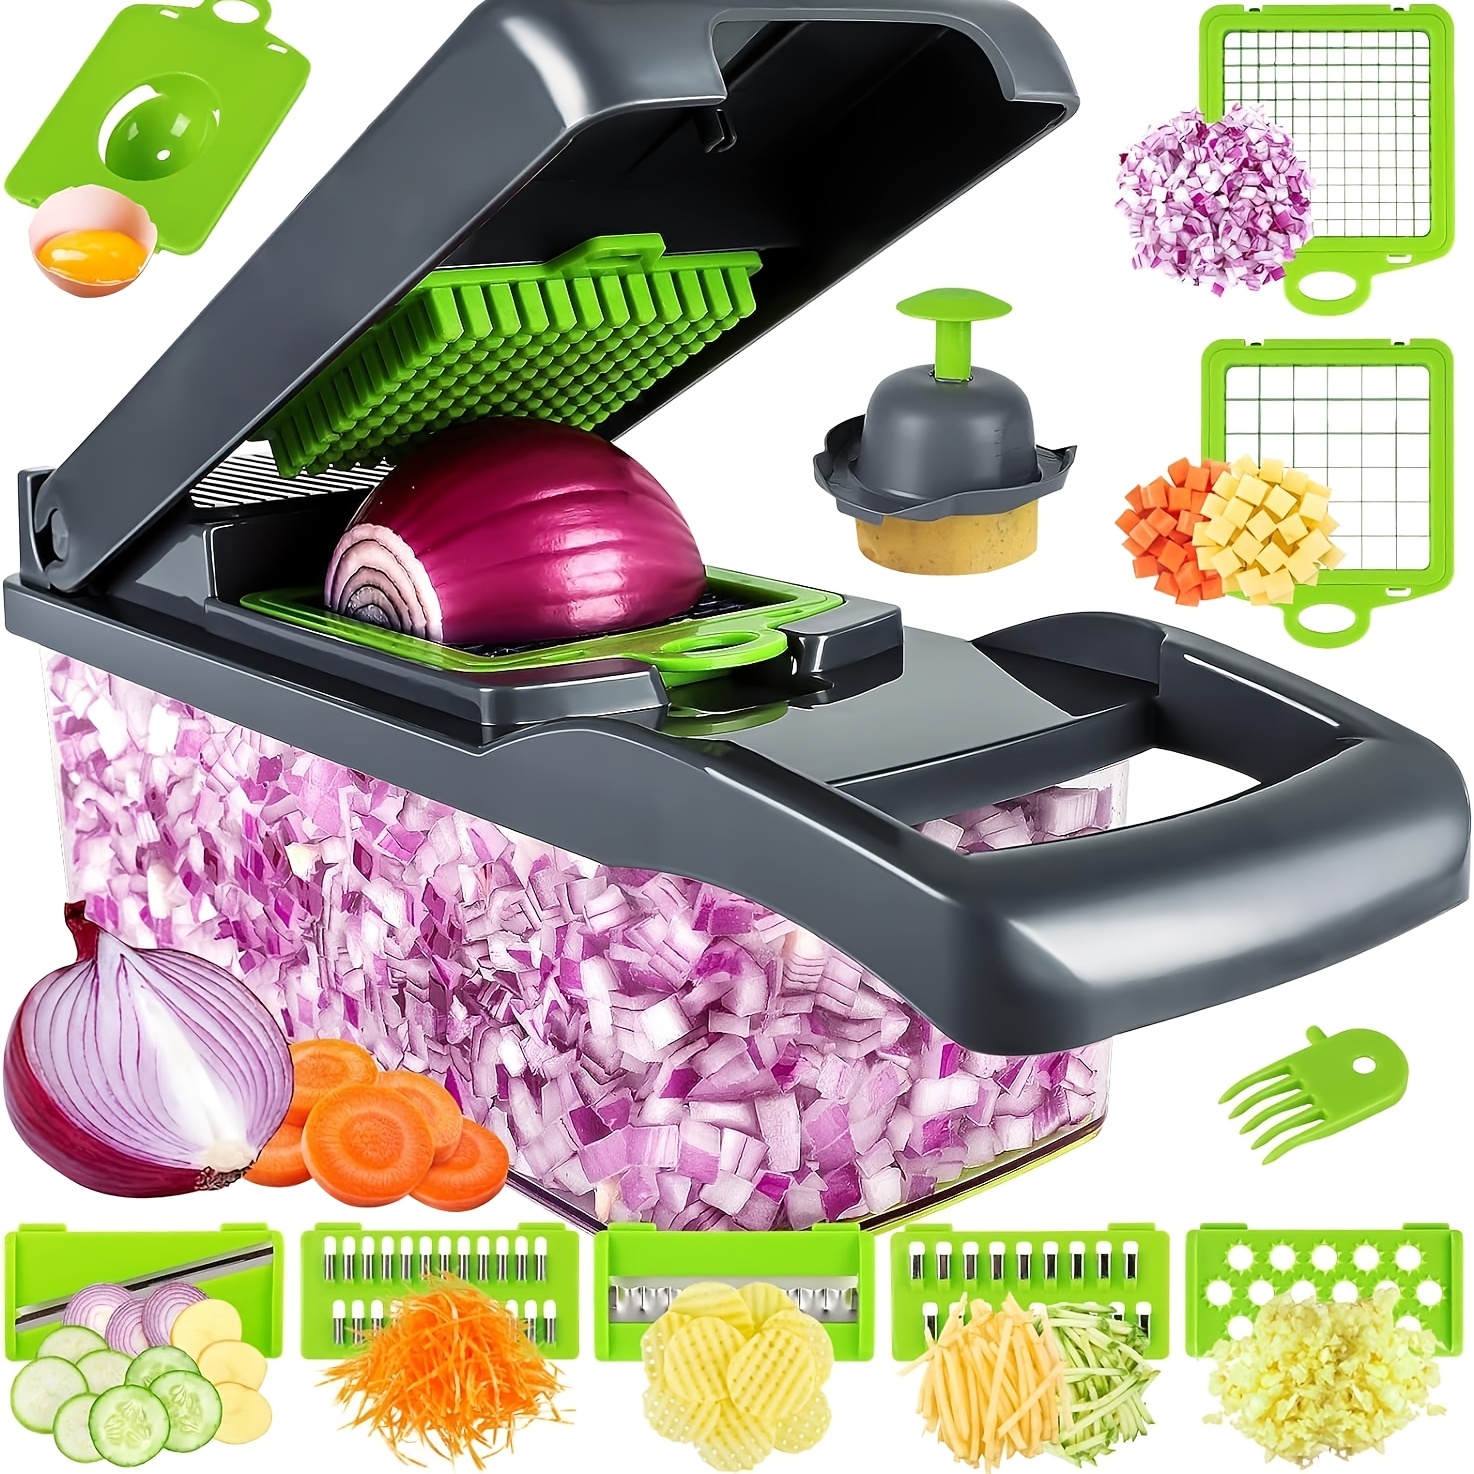
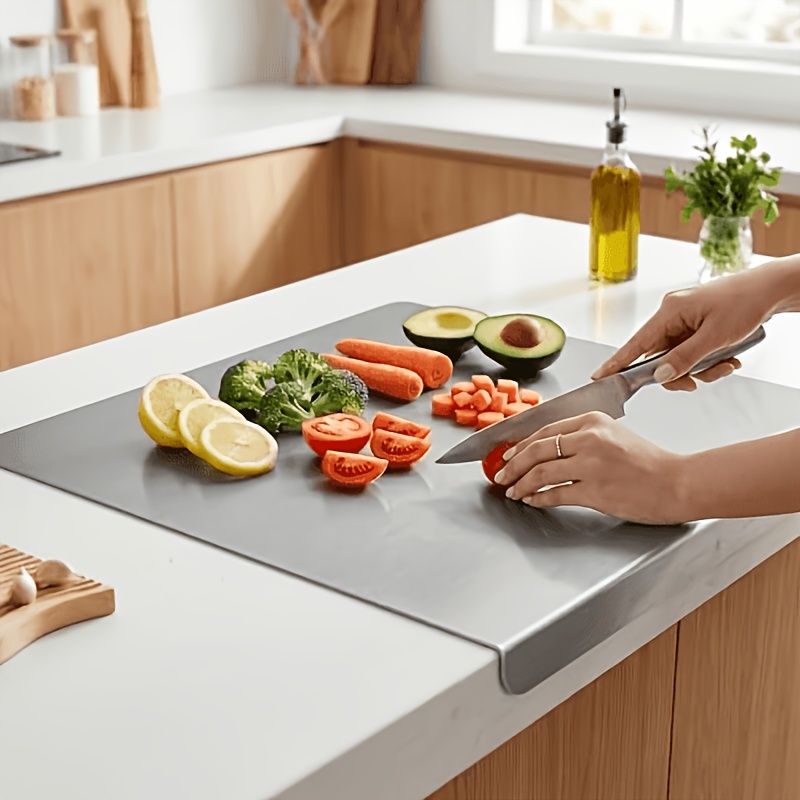
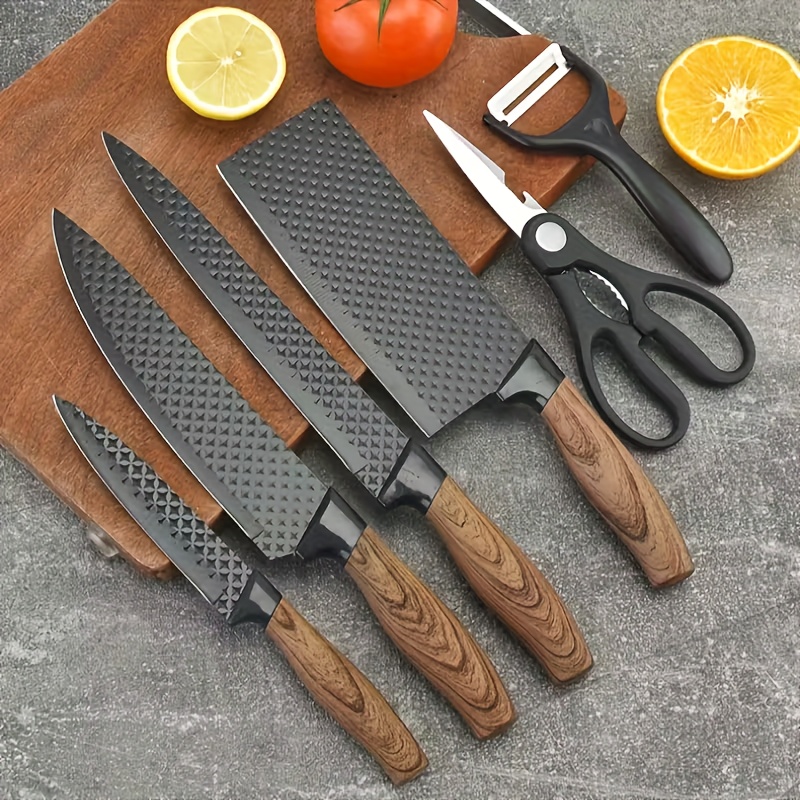
These handy little gadgets make cooking easier — and they're actually pretty cool.


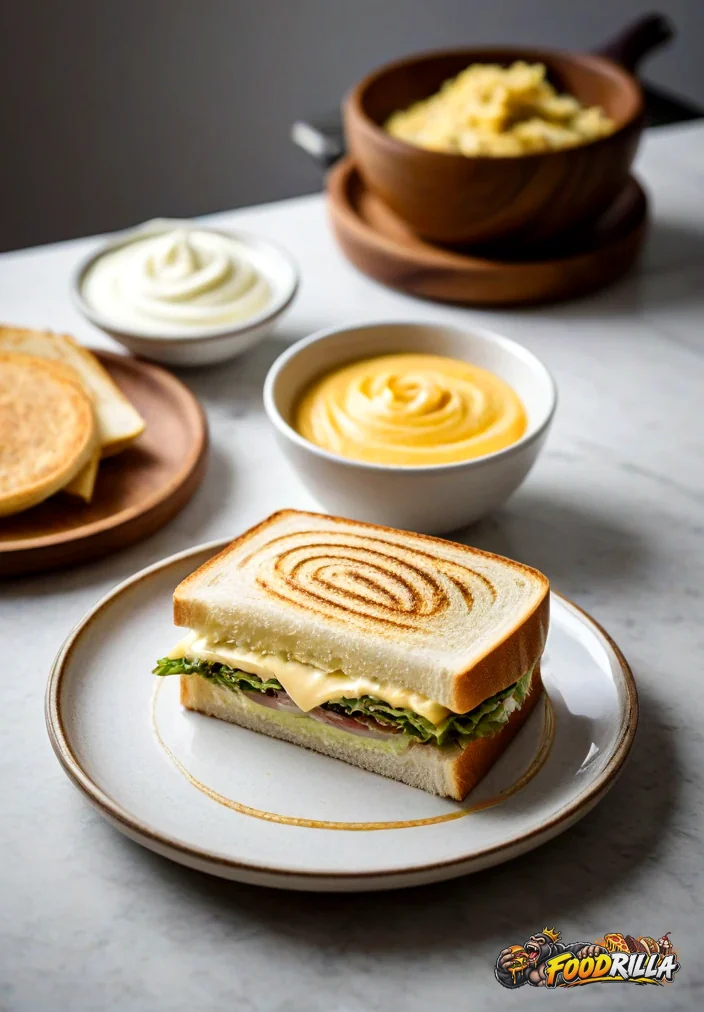
Classic ham and cheese sandwiches are a timeless favorite, perfect for a quick lunch or a satisfying snack. With layers of savory ham, gooey cheese, and crisp lettuce tucked between toasted bread, this sandwich is all about that delicious crunch and creamy texture. Let’s dive into how to make this crave-worthy classic that’s sure to hit the spot!
Why You’ll Love This Recipe
This Easy Classic Ham and Cheese Sandwich is not only delicious but also incredibly simple to prepare. It’s a satisfying option that can be whipped up in no time!
- Quick and easy to make.
- Perfect for lunch or a light dinner.
- Customizable with your favorite ingredients.
- Great for meal prep or picnics.
- Uses readily available ingredients.
Ingredients
- 4 slices of bread (white, whole grain, or sourdough)
- 4 ounces of sliced ham
- 4 slices of cheddar cheese
- 1 cup of lettuce leaves
- 2 tablespoons of mustard (or your preferred condiment)
- 1 tablespoon of butter (for toasting)
How to Make Classic Ham and Cheese Sandwich
- Start by preheating a skillet over medium heat.
- Spread butter on one side of each slice of bread.
- Place two slices of bread, buttered side down, onto the skillet.
- Layer each slice with 2 ounces of ham and 2 slices of cheddar cheese.
- Add a handful of lettuce on top of the cheese.
- Spread mustard on the unbuttered side of the remaining two slices of bread and place them on top, mustard side down.
- Cook for about 3-4 minutes, or until the bottom slice is golden brown.
- Carefully flip the sandwiches and cook for another 3-4 minutes until the other side is golden and the cheese is melted.
- Remove from the skillet and let cool for a minute before slicing in half.
- Serve immediately and enjoy!
Tips for the Best Results
- Use fresh ingredients for the best flavor and texture.
- Don’t rush the toasting process; a lower heat allows the cheese to melt perfectly while the bread gets crispy.
- Experiment with different types of cheese like Swiss or pepper jack for a twist.
- Add tomatoes or pickles for extra crunch and flavor.
Easy Variations
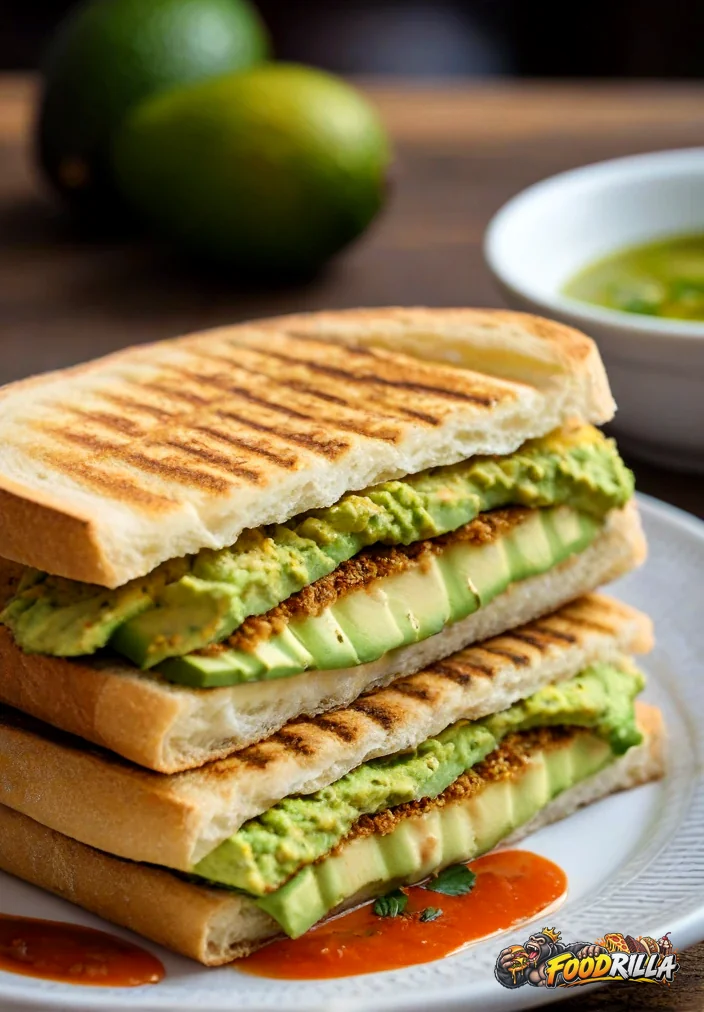
- Try adding avocado slices for creaminess.
- Swap ham for turkey or roast beef for a different protein option.
- Use different spreads like mayonnaise or aioli for added flavor.
- Make it a club sandwich by adding an extra layer of turkey and another slice of bread.
What to Serve With It
- Fresh fruit salad for a refreshing side.
- Crispy potato chips for that classic crunch.
- A side of pickles or olives for a briny contrast.
- A simple green salad to balance the meal.
Storage and Reheating
Love Trying New Recipes? Check These Out
Save your favorites, discover something different, or make meal planning a whole lot easier.


Store any leftover sandwiches in an airtight container in the refrigerator for up to 2 days. To reheat, place the sandwich in a skillet over medium heat until warmed through, or use a microwave for a quick option, though this may result in a softer bread texture.
Recipe Card
Prep Time: 5 minutes
Cook Time: 8 minutes
Total Time: 13 minutes
Yield/Servings: 2 sandwiches
Ingredients:
- 4 slices of bread (white, whole grain, or sourdough)
- 4 ounces of sliced ham
- 4 slices of cheddar cheese
- 1 cup of lettuce leaves
- 2 tablespoons of mustard (or your preferred condiment)
- 1 tablespoon of butter (for toasting)
Instructions:
- Start by preheating a skillet over medium heat.
- Spread butter on one side of each slice of bread.
- Place two slices of bread, buttered side down, onto the skillet.
- Layer each slice with 2 ounces of ham and 2 slices of cheddar cheese.
- Add a handful of lettuce on top of the cheese.
- Spread mustard on the unbuttered side of the remaining two slices of bread and place them on top, mustard side down.
- Cook for about 3-4 minutes, or until the bottom slice is golden brown.
- Carefully flip the sandwiches and cook for another 3-4 minutes until the other side is golden and the cheese is melted.
- Remove from the skillet and let cool for a minute before slicing in half.
- Serve immediately and enjoy!
Notes: For the best flavor, use fresh ingredients and feel free to customize with your favorite toppings!