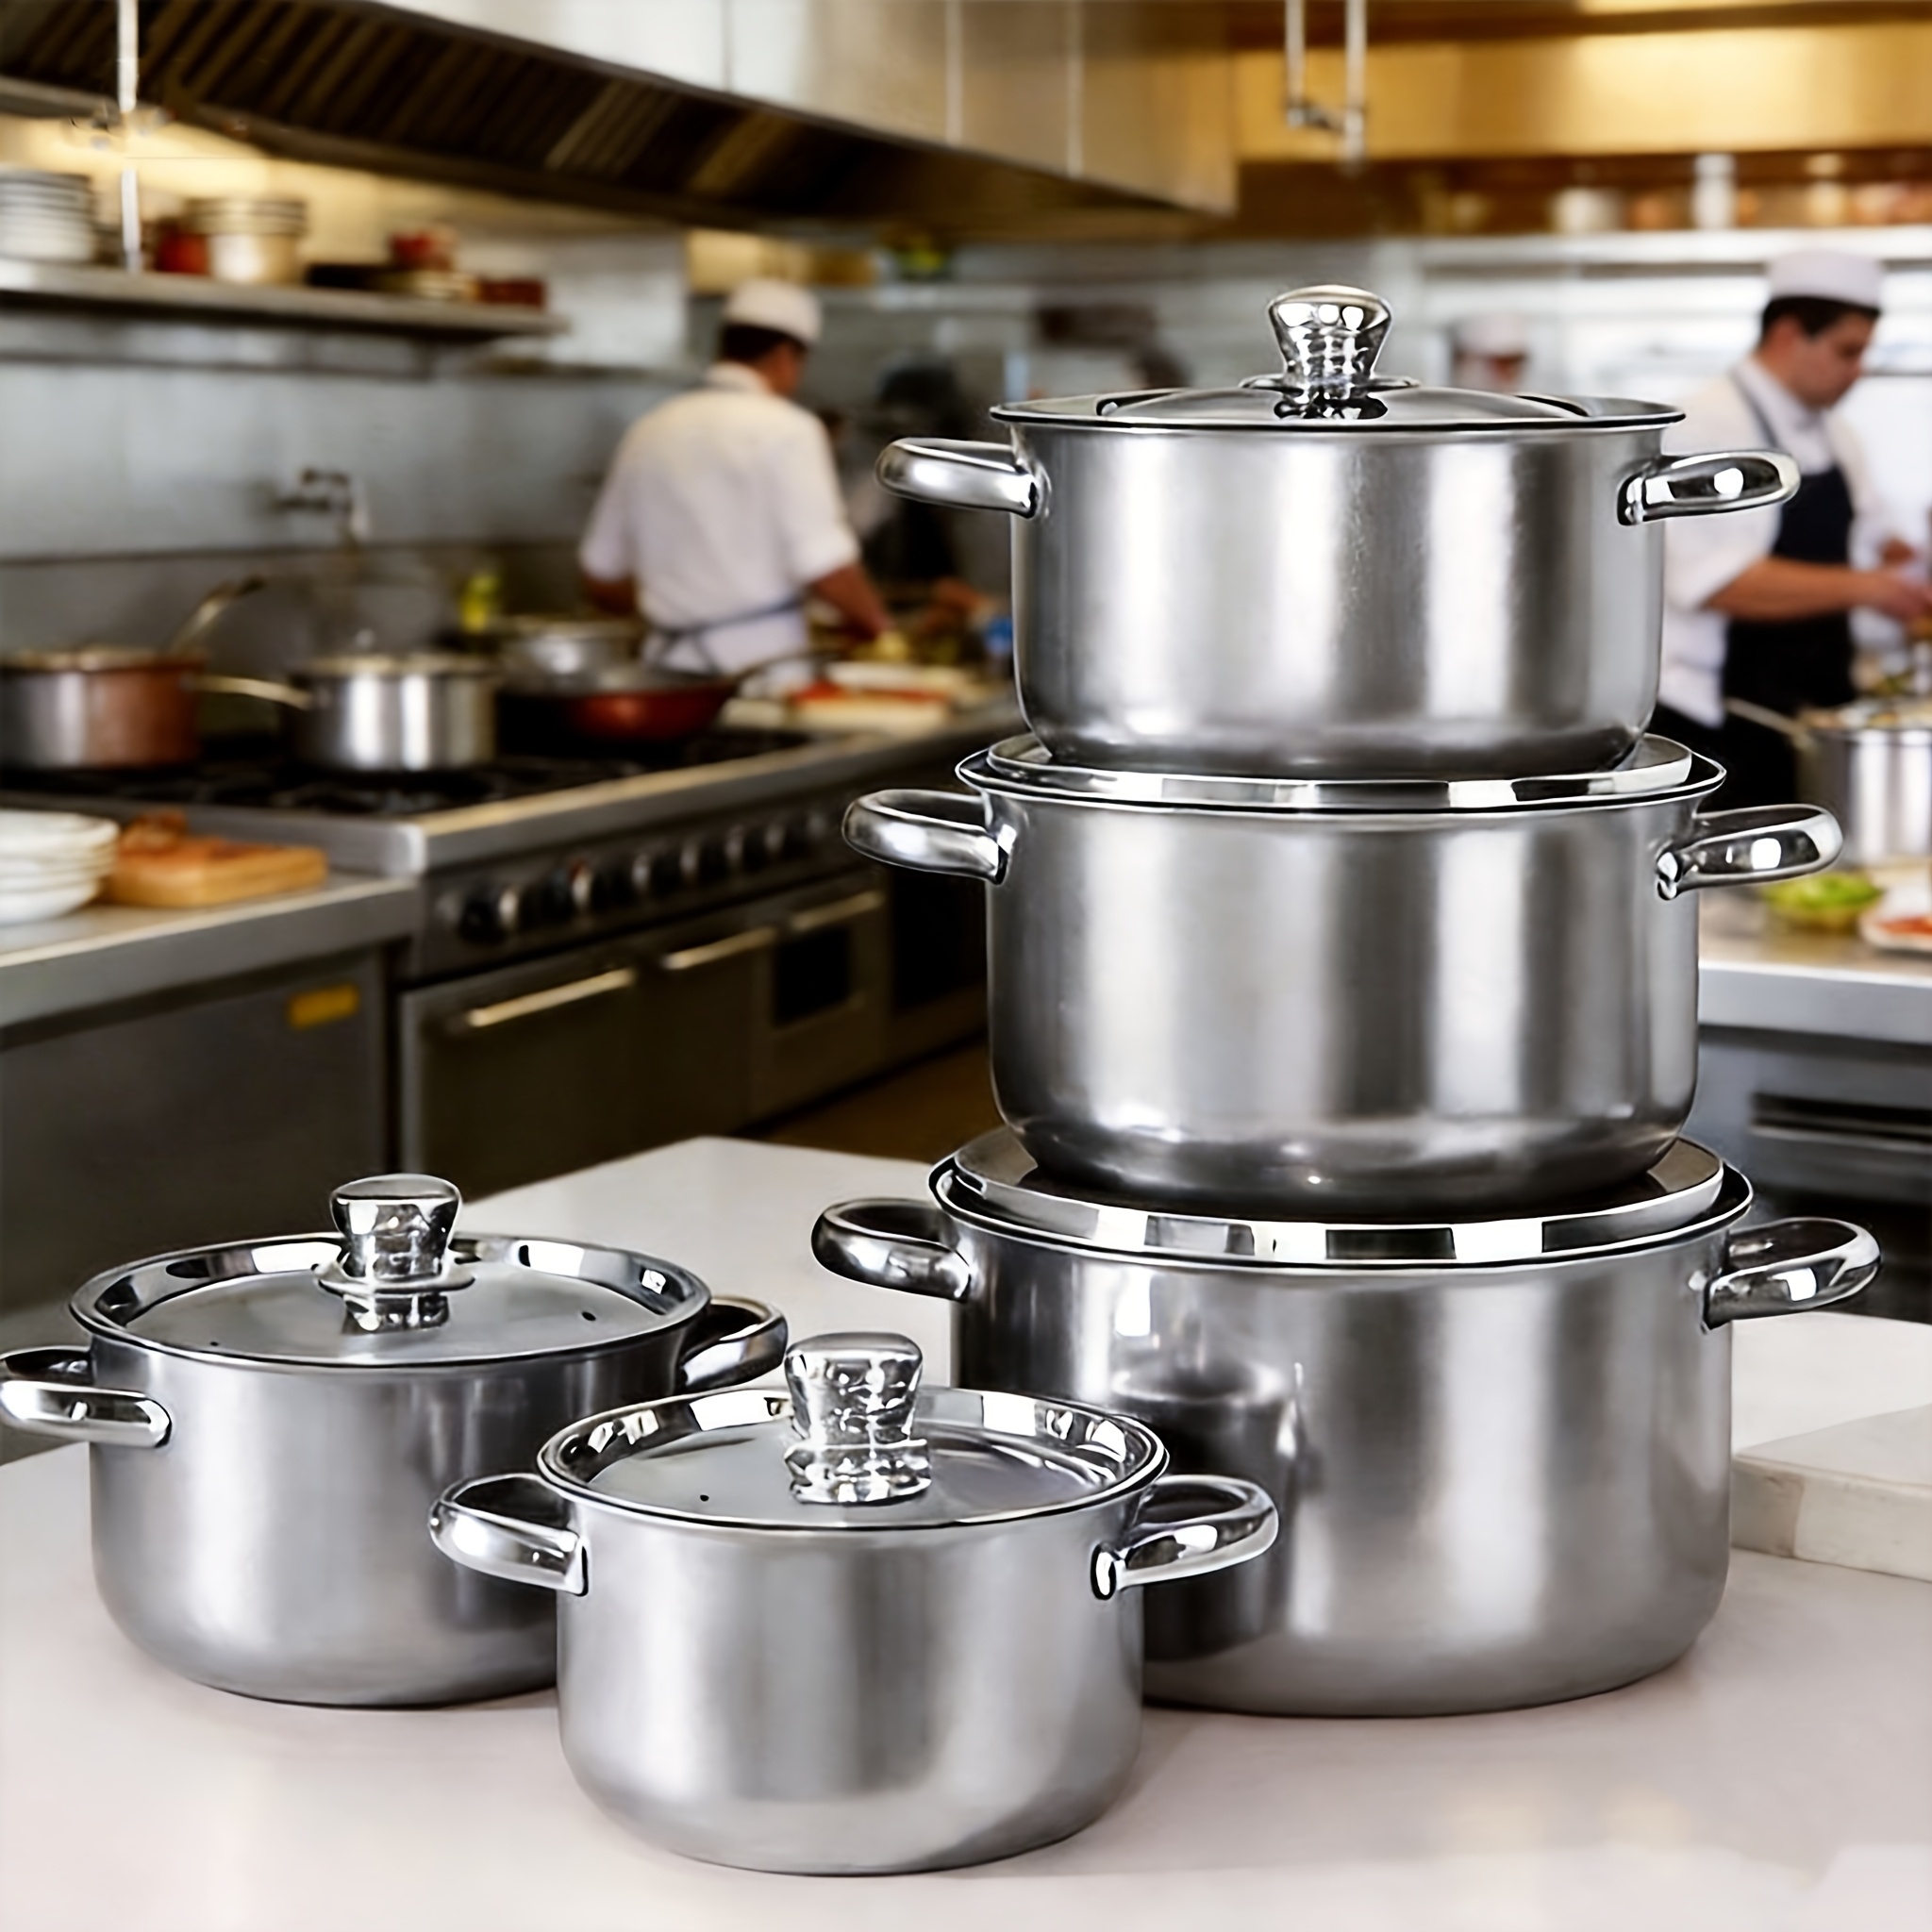
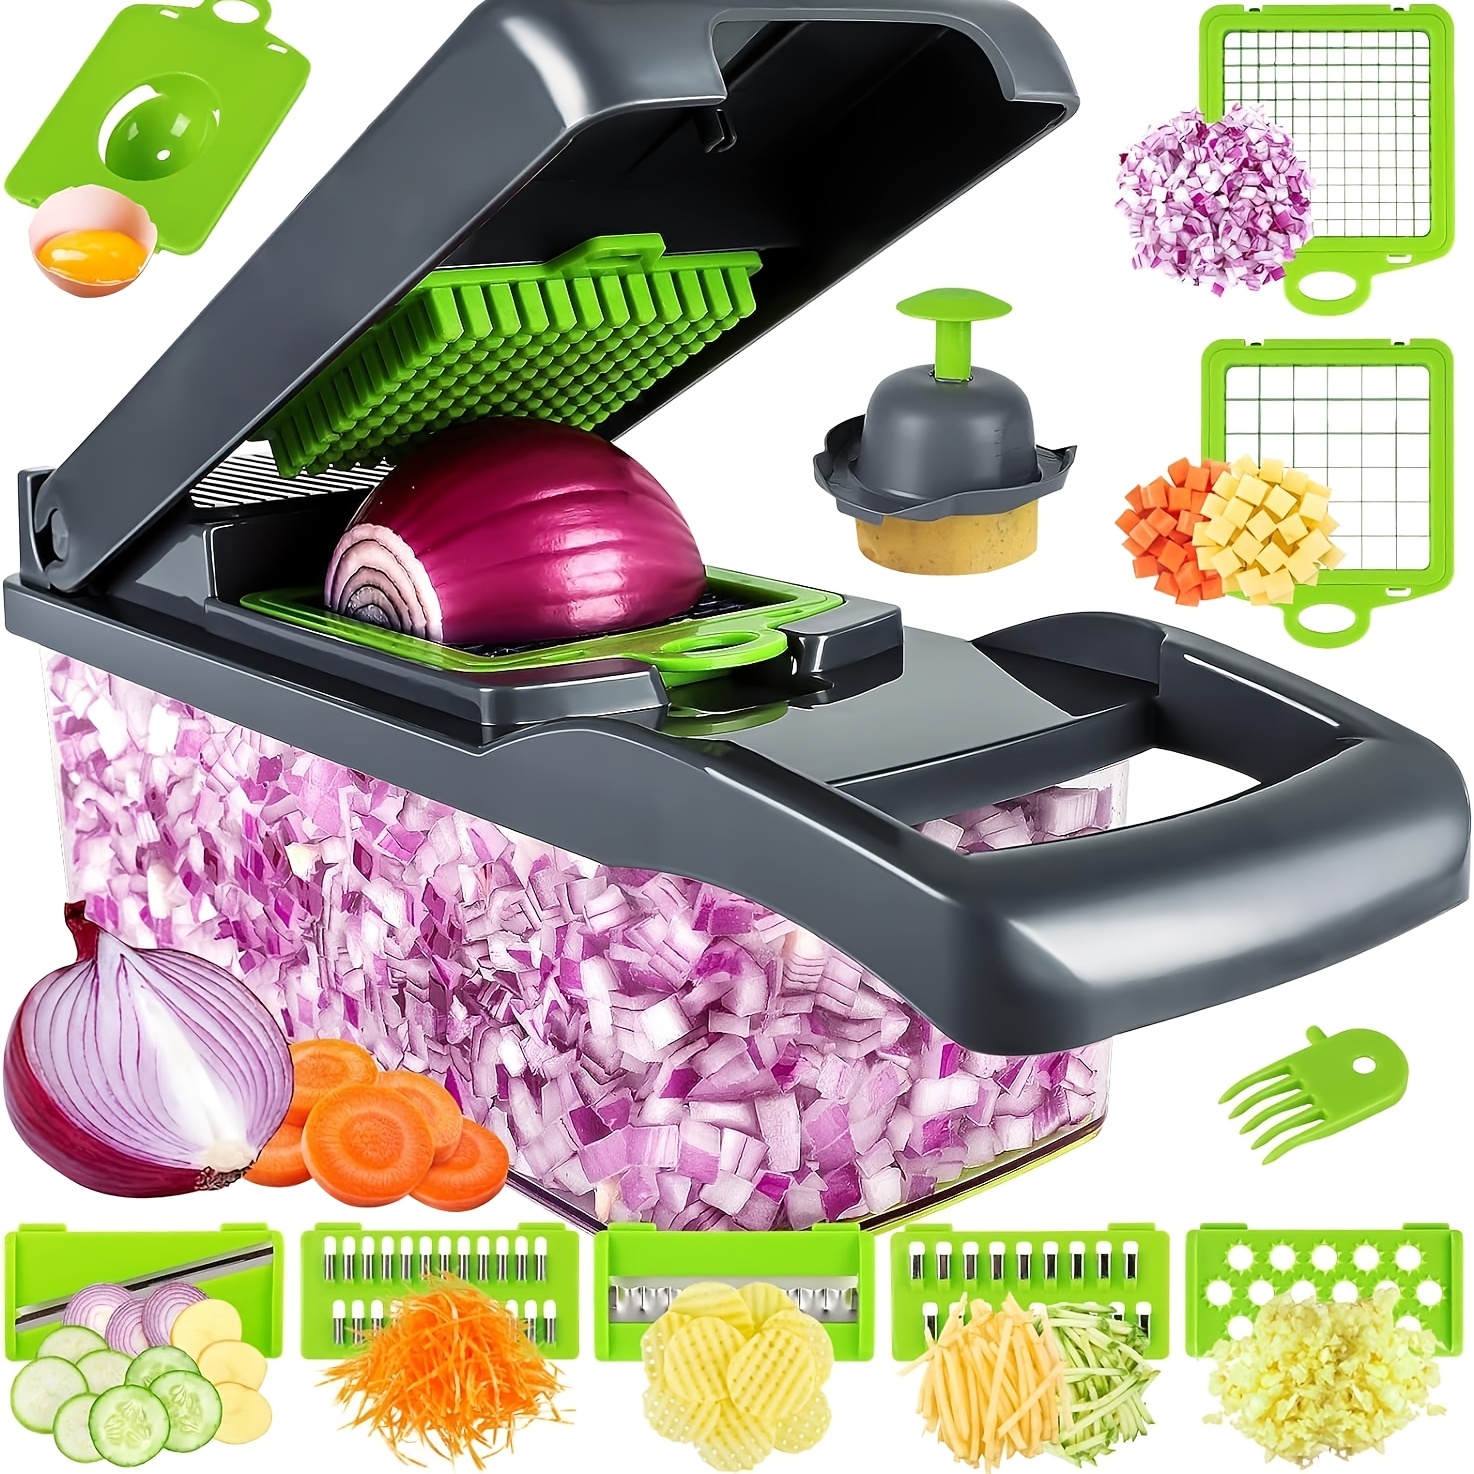

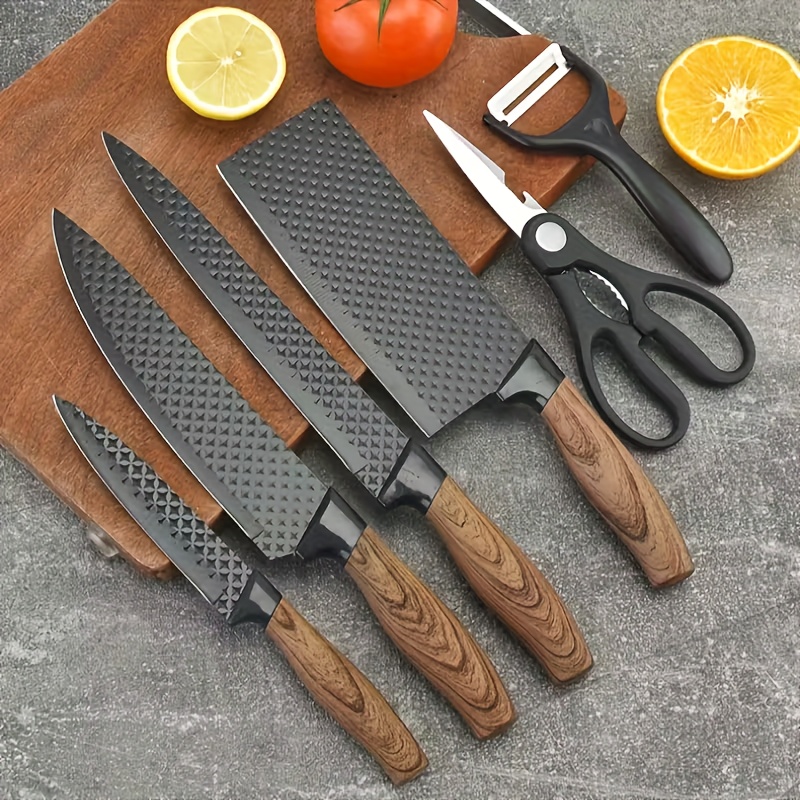

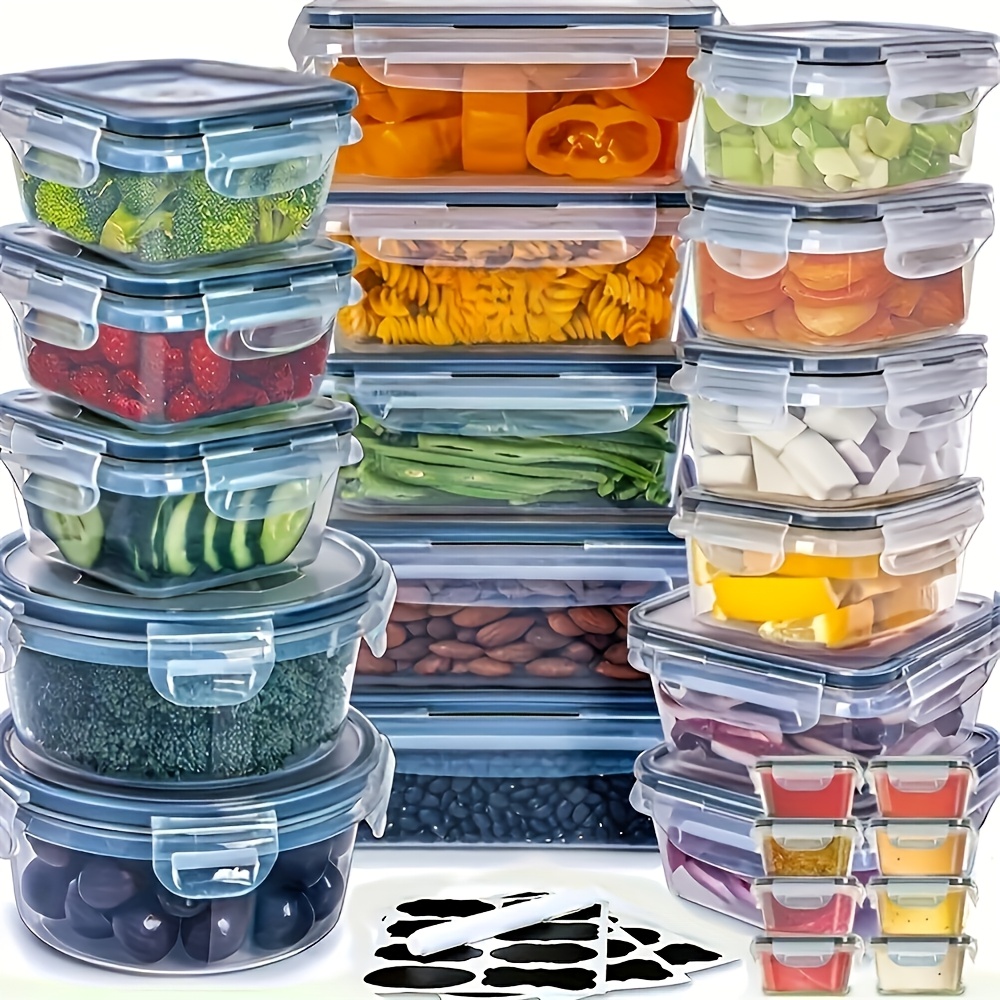
3 Clever Kitchen Gadgets Worth Checking Out
These handy little gadgets make cooking easier — and they're actually pretty cool.


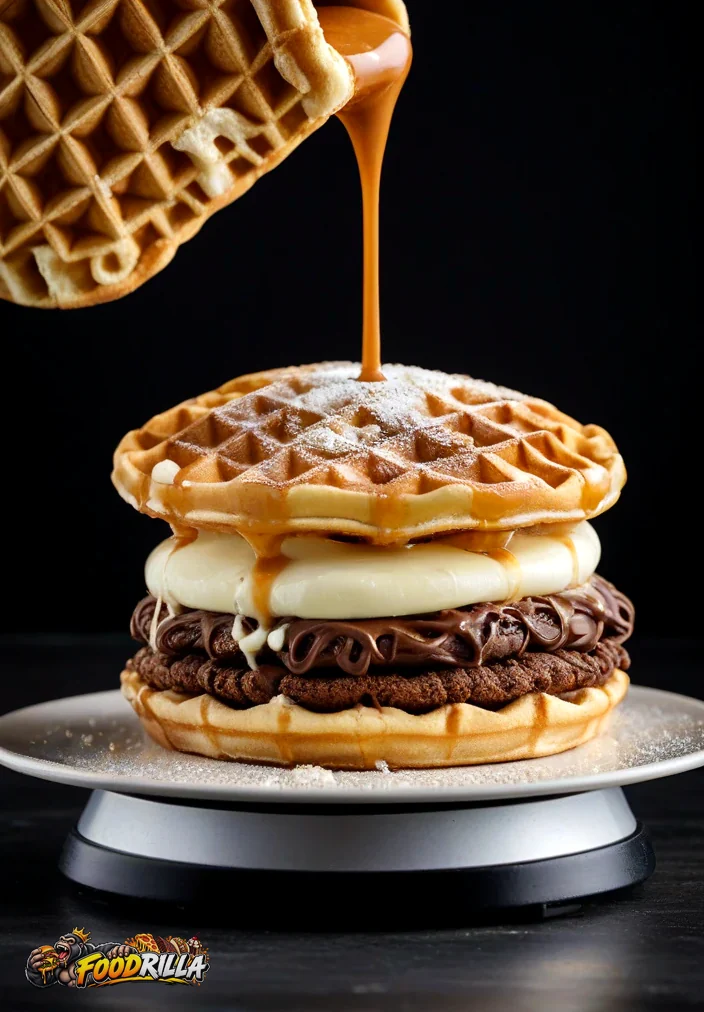
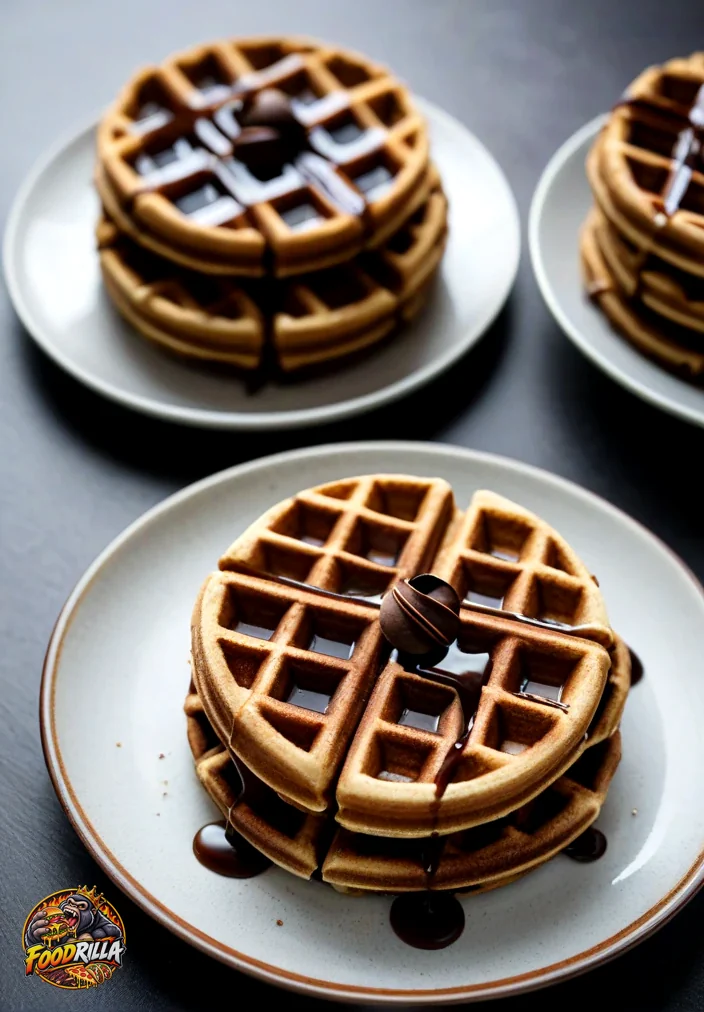
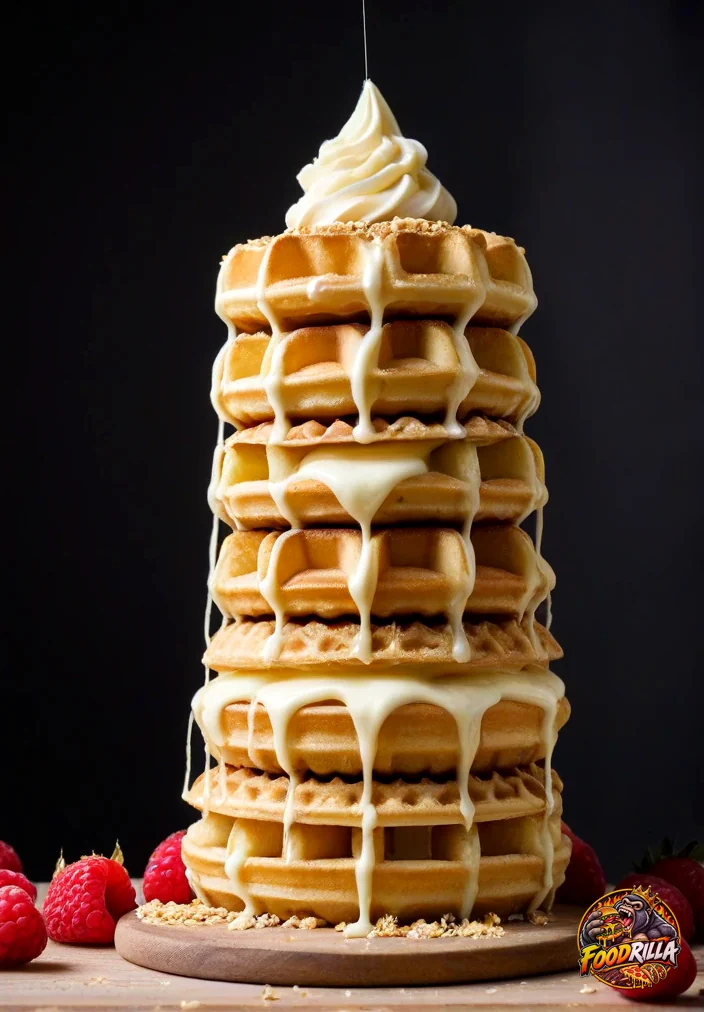
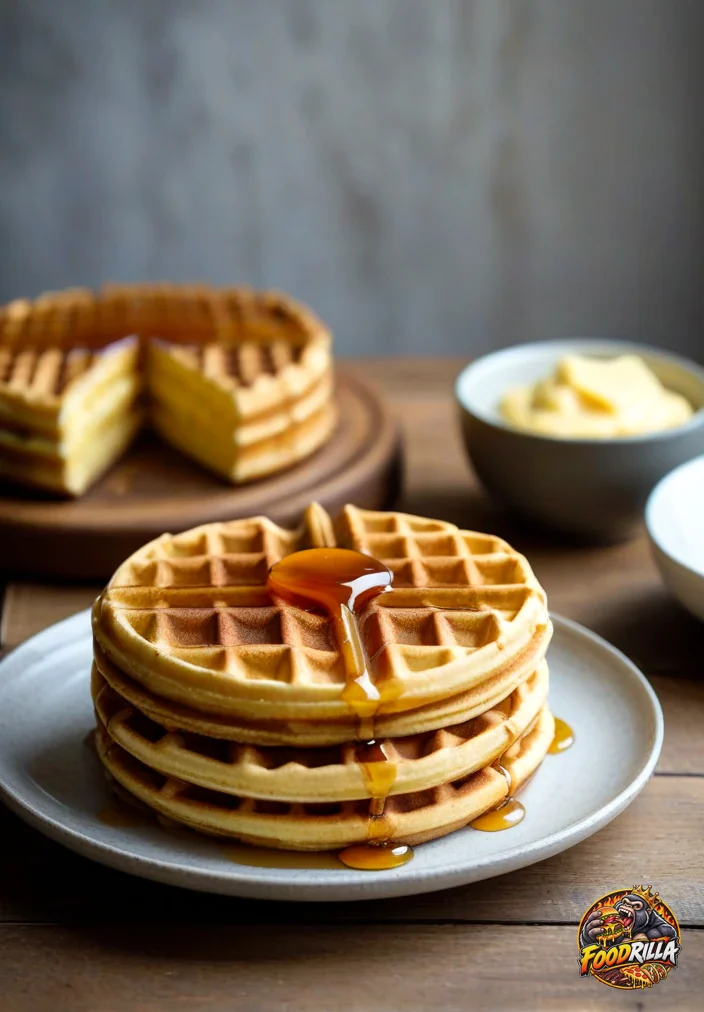
Fluffy buttermilk waffles are the ultimate breakfast treat that brings warmth and comfort to your weekend mornings. With their light, airy texture and rich flavor, these waffles are perfect for drizzling with syrup, topping with fresh fruit, or even enjoying plain. Let’s dive into how you can whip up a batch of these delightful treats right in your own kitchen.
Why You’ll Love This Recipe
These fluffy buttermilk waffles are not just easy to make, but they also deliver a satisfying crunch on the outside and a tender, fluffy interior. Perfect for lazy weekends, this recipe is a crowd-pleaser for family brunches or a cozy morning treat.
- Quick and Easy: Simple ingredients and straightforward steps make this recipe accessible for everyone.
- Fluffy Texture: Buttermilk adds a lightness that elevates your waffles to a whole new level.
- Versatile: Top with your favorite fruits, syrups, or whipped cream for a personalized touch.
- Make Ahead: These waffles freeze beautifully, making breakfast a breeze on busy days.
Ingredients
- 2 cups all-purpose flour
- 2 tablespoons granulated sugar
- 1 tablespoon baking powder
- 1/2 teaspoon baking soda
- 1/2 teaspoon salt
- 2 large eggs
- 1 3/4 cups buttermilk
- 1/2 cup unsalted butter, melted
- 1 teaspoon vanilla extract
How to Make Classic Buttermilk Waffles
- Preheat your waffle iron according to the manufacturer’s instructions.
- In a large bowl, whisk together the flour, sugar, baking powder, baking soda, and salt until well combined.
- In a separate bowl, beat the eggs, then add the buttermilk, melted butter, and vanilla extract. Mix until smooth.
- Pour the wet ingredients into the dry ingredients and stir just until combined. Be careful not to overmix; a few lumps are okay.
- Lightly grease the preheated waffle iron with cooking spray or a little melted butter.
- Pour an appropriate amount of batter onto the center of the waffle iron (usually about 1/2 to 3/4 cup, depending on your iron). Close the lid and cook according to the manufacturer’s instructions, typically for 4 to 5 minutes, or until golden brown.
- Carefully remove the waffle and repeat with the remaining batter, greasing the iron as needed.
- Serve immediately with your favorite toppings or keep warm in an oven set to low heat.
Tips for the Best Results
- Use room temperature ingredients for a better batter consistency.
- Avoid overmixing to keep your waffles light and fluffy.
- Experiment with different waffle irons for various textures; Belgian waffles are thicker, while classic waffles are thinner.
- If your waffles are sticking, ensure your waffle iron is adequately greased.
Easy Variations
- Chocolate Chip Waffles: Stir in 1/2 cup of chocolate chips for a sweet twist.
- Blueberry Waffles: Add 1 cup of fresh or frozen blueberries to the batter for a fruity touch.
- Banana Waffles: Mash 1 ripe banana and mix it in for natural sweetness and flavor.
- Spiced Waffles: Add a teaspoon of cinnamon or nutmeg for a warm, cozy flavor.
What to Serve With It
- Fresh fruit like berries, bananas, or sliced peaches
- Maple syrup or honey for drizzling
- Whipped cream or Greek yogurt for added creaminess
- A sprinkle of powdered sugar for a touch of sweetness
- Crispy bacon or sausage for a savory contrast
Storage and Reheating
Love Trying New Recipes? Check These Out
Save your favorites, discover something different, or make meal planning a whole lot easier.


Leftover waffles can be stored in an airtight container in the refrigerator for 2-3 days. For longer storage, place them in a freezer-safe bag and freeze for up to 2 months. To reheat, pop them in a toaster or oven until heated through, ensuring they regain their crispiness.
Recipe Card
Prep Time: 15 minutes
Cook Time: 20 minutes
Total Time: 35 minutes
Yield: 6 servings
Ingredients
- 2 cups all-purpose flour
- 2 tablespoons granulated sugar
- 1 tablespoon baking powder
- 1/2 teaspoon baking soda
- 1/2 teaspoon salt
- 2 large eggs
- 1 3/4 cups buttermilk
- 1/2 cup unsalted butter, melted
- 1 teaspoon vanilla extract
Instructions
- Preheat your waffle iron according to the manufacturer’s instructions.
- In a large bowl, whisk together the flour, sugar, baking powder, baking soda, and salt until well combined.
- In a separate bowl, beat the eggs, then add the buttermilk, melted butter, and vanilla extract. Mix until smooth.
- Pour the wet ingredients into the dry ingredients and stir just until combined. Be careful not to overmix; a few lumps are okay.
- Lightly grease the preheated waffle iron with cooking spray or a little melted butter.
- Pour an appropriate amount of batter onto the center of the waffle iron (usually about 1/2 to 3/4 cup, depending on your iron). Close the lid and cook according to the manufacturer’s instructions, typically for 4 to 5 minutes, or until golden brown.
- Carefully remove the waffle and repeat with the remaining batter, greasing the iron as needed.
- Serve immediately with your favorite toppings or keep warm in an oven set to low heat.
Notes
Leftover waffles can be stored in the refrigerator for 2-3 days or frozen for up to 2 months. Reheat in a toaster or oven for best results.